Zoh Shia is the endgame Guardian fight the story teases; Title Update 1 opens it as a farmable High Rank hunt. It has four phases, a regenerating crystal armor layer that hides every weakspot, and an arena that fills with hazards. The quest also runs your prep dry: once it starts you cannot restock or eat, so a good clear starts before you leave camp.
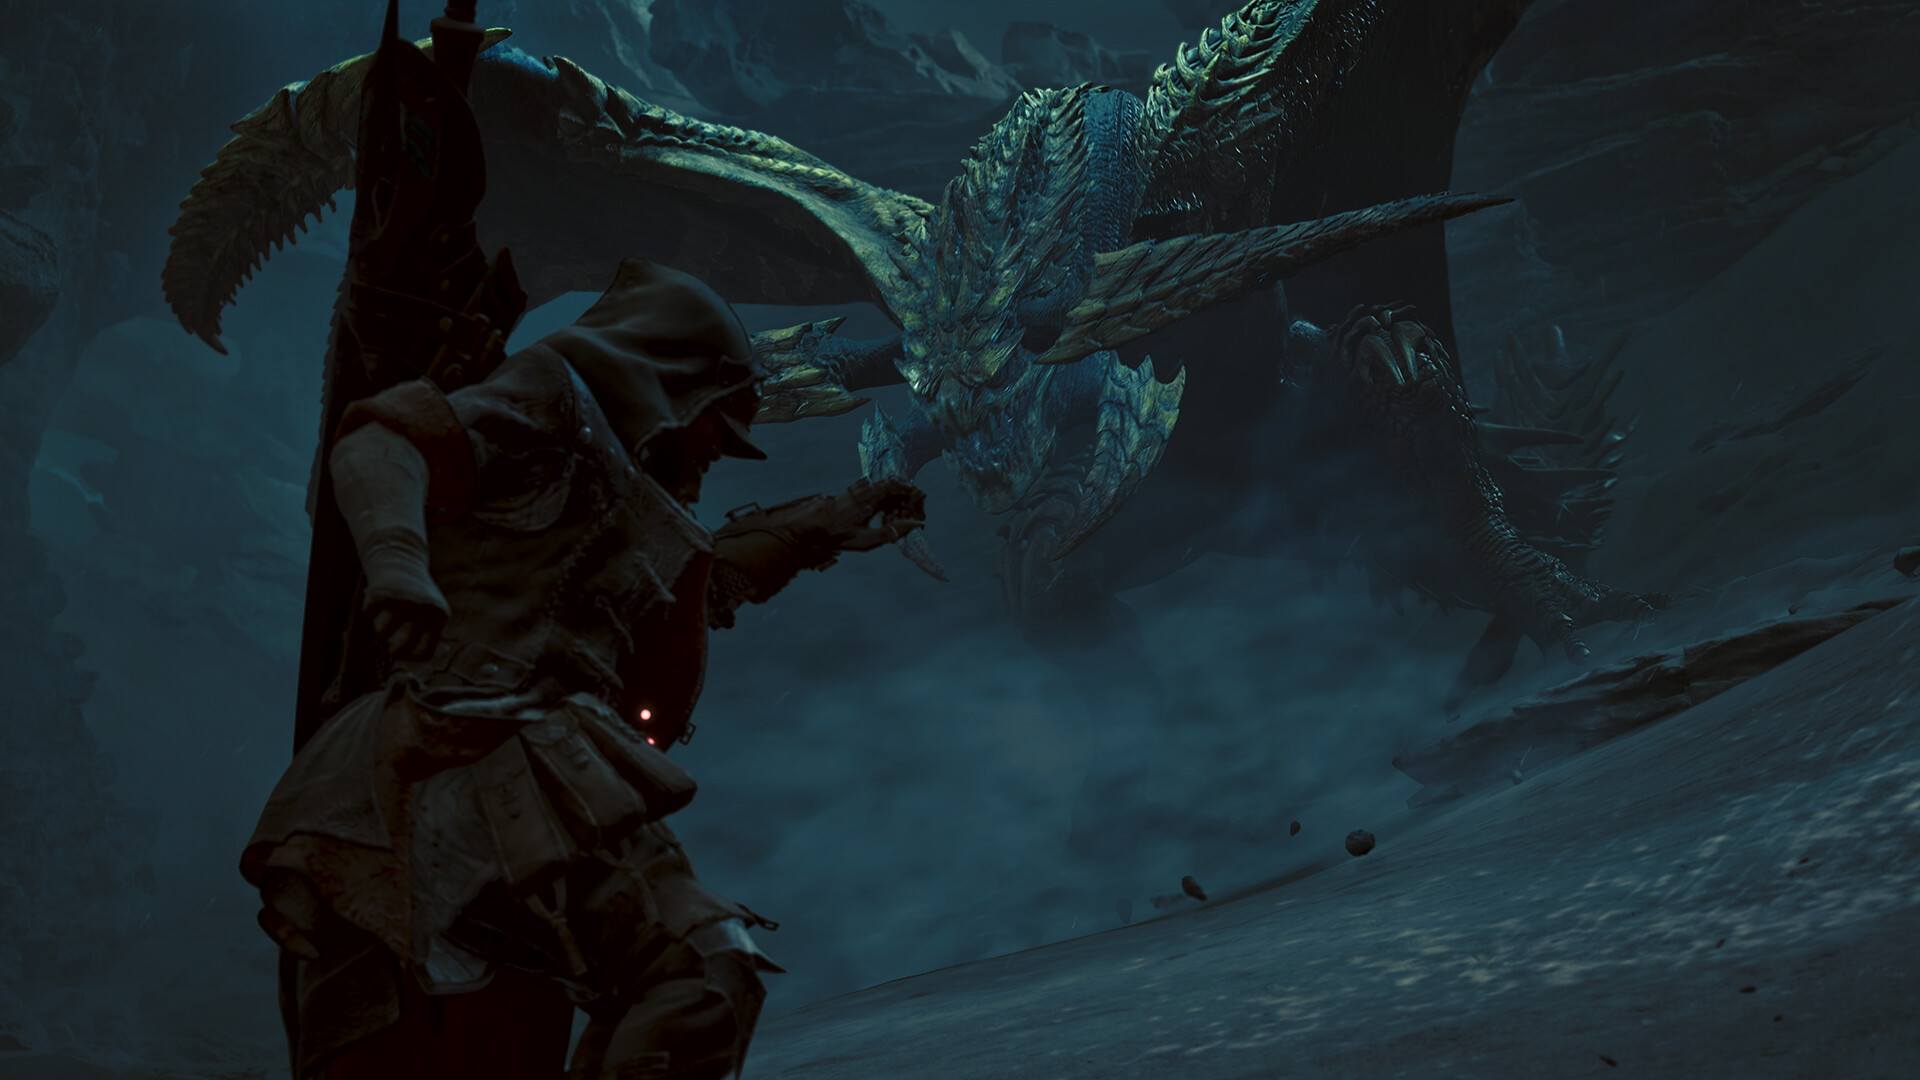
Bring a Dragon-element weapon, cap Fire Resistance at 20 to nullify Fireblight, and eat before you accept the quest. Break the head crystal first every phase. The head is the only hitzone that stays worth chasing into Phase 4.
How to unlock Zoh Shia in High Rank
Zoh Shia was the low-rank finale, then Title Update 1 made it repeatable at High Rank. To get to the farmable version:
- Reach Hunter Rank 50 and finish Chapter 6-1.
- Fly to Suja, Peaks of Accord and talk to Werner at base camp.
- Clear the story missions An Unexpected Summons and A First Cry.
- Zoh Shia investigations start rotating in at the Dragontorch in the Ruins of Wyveria. Accept the 8-star quest Wyvern's Wakening.
The quest drops you into the arena with no camp interlude: anything you did not pack, cook, or slot before pressing accept, you do not get.
Pre-fight prep
Zoh Shia rewards specialists, not generalists. Two axes matter: element and blight resistance.
- Element: Dragon is the primary weakness. If you are running a raw build, this is the hunt to swap to your Dragon Artian roll.
- Status: Blastblight, Poison, Sleep, and Paralysis all land. A Paralysis Dual Blades or Sleep bomb setup saves time in a party clear.
- Fire Resistance 20+ nullifies Fireblight from Phase 2 onward. This alone erases most chip damage.
- Meal: Attack Large + Elemental Res Large. Skip Defense meals; end the fight, don't survive it forever.
- Items: Mega Potions, Max Potions, Nulberries (blight cures), Astera Jerky. Skip cool and hot drinks.
Weapon picks
- Long Sword: Iai counters trivialize Phase 3's fire sweeps. Dragon Artian roll ideal.
- Charge Blade: Savage Axe eats crystal armor faster than any other weapon.
- Bow: Dragon coats + safe range for Phase 4's lightning floor markers.
- Hunting Horn: Attack Up (L) and Divine Blessing keep a party alive through the ceiling ignition.
- Skip raw-focused Great Sword/Hammer builds unless you have a Dragon option; the crystal armor punishes low elemental output.
Priority decorations
- Coalescence Lv 1: huge elemental damage window after every Nulberry.
- Agitator: Zoh Shia stays enraged for most of Phases 2–4.
- Earplugs Lv 3: cancels the roars that otherwise interrupt Savage Axe chains.
- Divine Blessing: chip insurance against Phase 3's environmental damage.
- Guardian-set armor pieces trigger Wylk Burst almost constantly here, since the arena is dense with wylk.
Phase 1: cracking the shell
Zoh Shia opens fully clad in white crystal armor that buries every weakspot. Your job for the first minute is demolition, not damage. Attack the head and wingtalons. Those two crystal segments break fastest and open the highest-value hitzones for the rest of the fight.
Phase 1 sticks to physical and wylk-based attacks: melee swipes, a body slam, and a wylk beam. No fire, no thunder yet. Position for tail carves if you're on a cutting weapon: sever it early, since a broken tail is easier to keep broken.
Armor pieces regenerate on a timer, but any part you have already broken breaks much faster the second time. Keep punishing the head between other openings.
Phase 2: head unmasked, fire on
Once the head crystal comes off, Zoh Shia enters Phase 2 with a black exposed head and a full fire kit stacked on top of its Phase 1 pool. Expect:
- A short-cone fire breath from a stationary crouch. Dodge sideways, not forward.
- Wing sweeps that carry a fire hitbox. Fire Res 20 turns the chip into zero.
- Occasional wylk explosions where it stood. Do not linger on old ground.
Head is now a top-tier hitzone. If you're solo, this is the phase to burn through your damage buffs and Wirebug consumables; if you're in a party, coordinate a stun rotation on the head to cash in on the exposed hitzone before Phase 3's arena change.
Phase 3: the ceiling ignites
Zoh Shia plants many massive Wylkrystals around the arena, then ignites the ceiling and breathes a sustained torrent of fire that drains the Wylkrystals to expand its reach. This phase ends most first attempts.
Two rules keep you alive here:
- Break the Wylkrystals in the arc between you and Zoh Shia. Every crystal it drains extends the fire torrent's radius. Fewer crystals means the fan-out never reaches you.
- Do not stand between Zoh Shia and a crystal cluster. The torrent tracks; the arena becomes a wedge of unsafe ground.
Once the torrent ends, the ceiling calms and you get a long enrage window on Zoh Shia's now-exposed body. Wingtalons and forelegs are your best breaks here. The forelegs open a Wounds-friendly hitzone that funnels into Phase 4.
Phase 4: lightning floor and the head is everything
Phase 4 adds thunder. Zoh Shia telegraphs lightning strikes with floor markers. Step out of any marked circle before it flashes. The head is now a consistent 5-star hitzone for the rest of the fight; ignore almost everything else and drown it.
This is where a Dragon-element Long Sword clears the hunt: every big attack Zoh Shia commits to leaves the head static, and Iai Spirit Slash out of a counter is one of the highest damage-per-window openings in the game. Charge Blade Savage Axe rotations do the same job with a slightly wider timing window.
Breakable parts and rewards
- Head: highest-priority break every phase.
- Wingtalons (x2): easy first breaks, gate the wing sweep hitboxes.
- Forelegs: great for Wounds proc value and stagger uptime.
- Tail: severable with cutting weapons. Extra carve, easier hitboxes.
Any broken armor part regenerates on a timer, but the second break happens far faster. Rewards include Zoh Shia weapons and armor plus new Palico equipment; the armor set's crystal-triggered skills pair well with weapon builds that use elemental burst. See Scoutflies' armor coverage once it lands.
Common wipes and how to skip them
- You forgot to eat. The quest has no camp interlude. If you accepted at low HP or with no meal buff, abandon and re-prep.
- Standing in the Phase 3 wedge. Never occupy the line between Zoh Shia and a crystal cluster. The torrent will find you.
- Rolling forward through fire cones. Roll sideways. Superman-diving through a Zoh Shia cone eats the tail-end tick.
- Ignoring floor markers in Phase 4. Lightning telegraphs are honest. Trust them and move.
- No blight cures. Fireblight without Fire Res 20 stacks fast; Nulberries are cheap.
What to farm after your first clear
- Multiple Zoh Shia clears for the full armor set. The set's wylk-triggered bonuses make it a strong second-slot piece in most endgame builds.
- Artian Weapon rerolls: Sharpness/Element passives compound with the elemental damage you set up here.
- Talisman melding: feed Zoh Shia parts into the meld pool for higher-tier Talisman rolls.
- Arch-Tempered rotations: the next difficulty step once your Zoh Shia set is complete.
For this guide we consulted the Capcom Title Update 1 patch page (Zoh Shia High Rank unlock, quest structure, HR 50 gating), the Capcom official Monster Hunter Wilds page, the Game8 Monster Hunter Wilds wiki (phase breakdown, breakable parts, decoration priorities), Fextralife's Zoh Shia page (attack cross-reference), and community discussion on Reddit and player Discords.